
I have received some inquiries about the bench I used for the LN- Event last weekend. I shared with several people at the show and now here on my Blog the details of this bench. It could be an IDEAL woodworking bench for someone doing smaller projects with limited space; like an apartment in an urban area. I built my bench to demonstrate dovetailing at woodworking shows to teach hand tool dovetailing and to demonstrate my dovetail marker and saddle-square the Saddle-Tail. I’ll start from the ground up:
The legs
These are the cast iron bench legs that Lee-Valley produces they can be found here. They presently cost $235 for the pair. (If you order them note that there is a $40 additional shipping and handling fee due to their size and weight) Note that these legs weigh about 60lbs each which makes the bench nice a stout but they are heavy to carry. I bought my pair a few years ago and used them to mount a rose engine lathe that I had built. After I sold that lathe its done duty supporting a metal lathe and most recently as a sharpening station.
I painted the legs a gloss black and then added gold accenting to the filigree that is cast into them. I think it’s beautiful and needed to stand out more, the gold accents really make them pop!
I added ½” birch plywood feet to the feet as the cast iron on a floor is pretty slippery. The feet are tapped and there are countersunk screws supplied with the legs to attach these “feet”. With the 1 ¾” thick top and ½” feet the bench top is 35 ¼” off the ground. (Note I am 6’ tall)
The Stretchers
I milled the stretchers from Sapelle that was rescued from a dumpster (Thank you Shannon!). They are 1 ¾” thick and 24” long. You need to add two holes per end to register on some pins that are cast into the legs for positioning. I milled coves into the edges for a more finished look.
The Work Surface
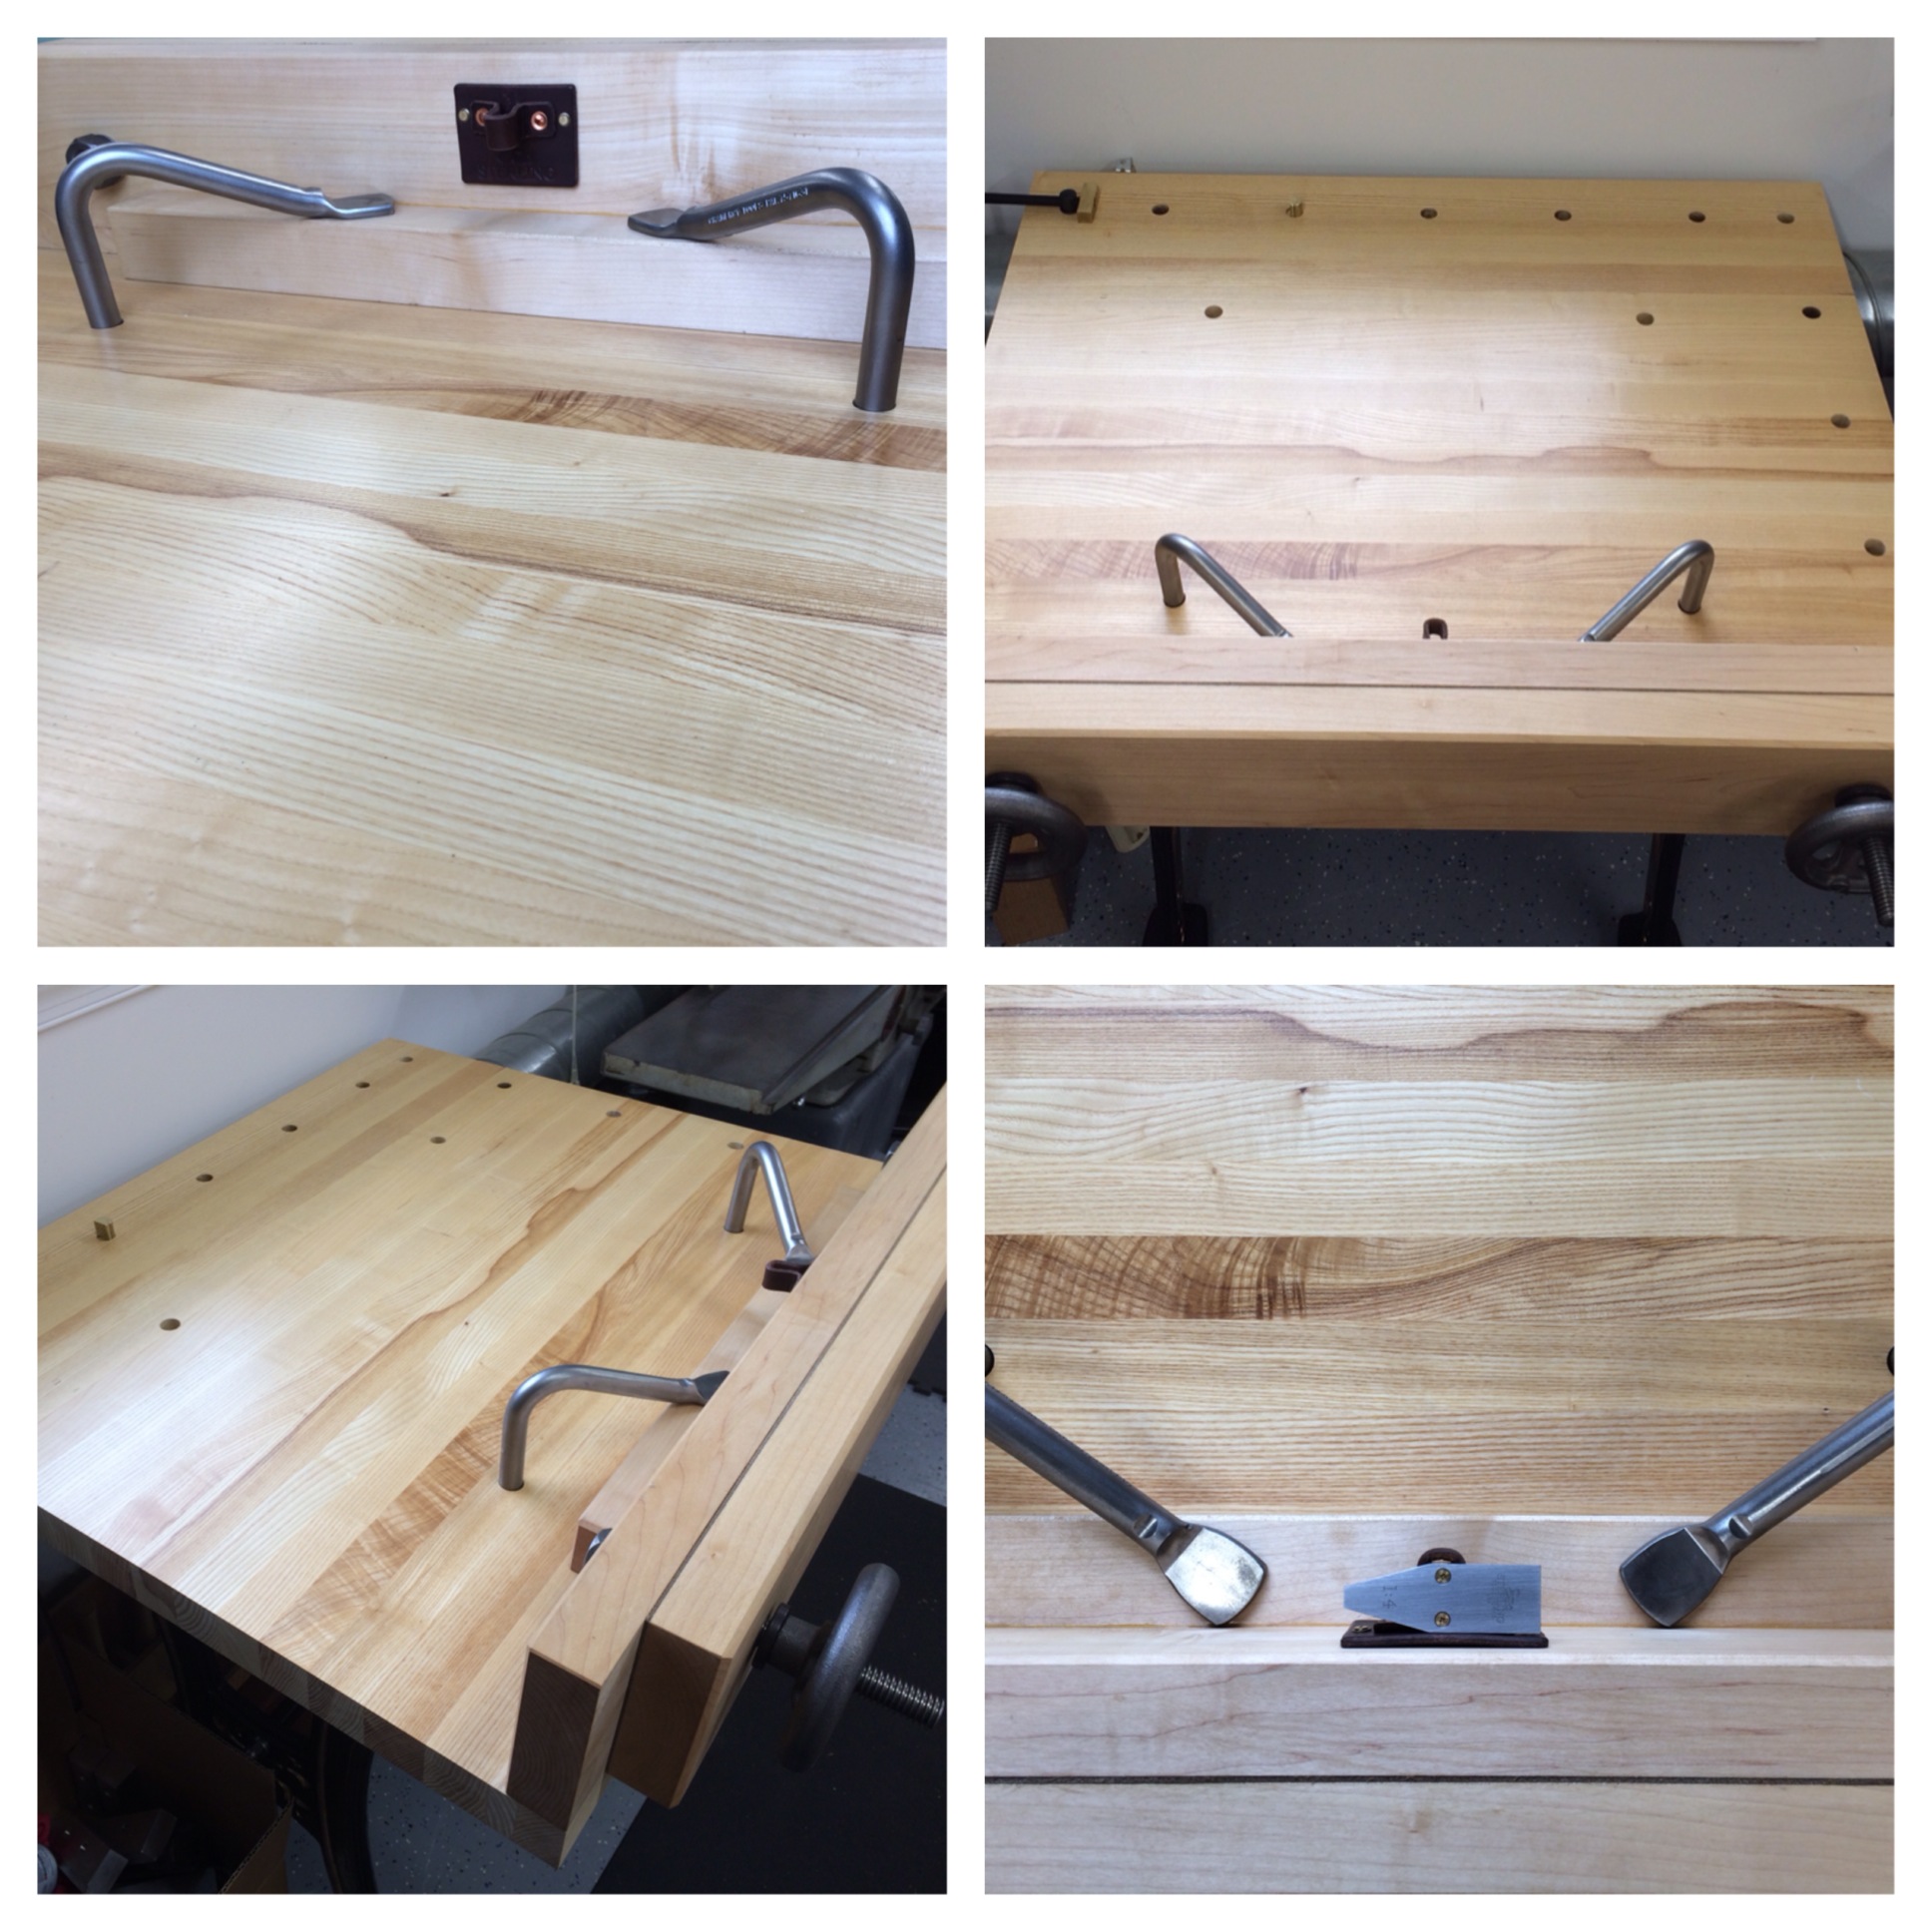
The top was a 36” long and 24” wide section of laminated ash bench top that is 1 ¾” thick. This weekend I added some dog holes to the “front” edge of this top and some holes for holdfasts. The addition of these holds make the Benchtop 100% more useful. (pictures below) If I had more time and didn’t have this piece of benchtop available, I could have laminated some other stock to form the work surface. Note that this size and thickness its manageable by one person, much bigger or thicker will be harder for one person to handle.
Moxon Vise
I mounted my Moxon vise to the “back” edge so I was able to face the event attendees. I made my Moxon vise in 2011 using a first run kit from Benchcrafted. It is 3’ wide and has 24.5” between the screws so I am able to handle a full 24” panel. The vise kit is available here for $150 or you can buy a finished vise for $399 for more information click here.
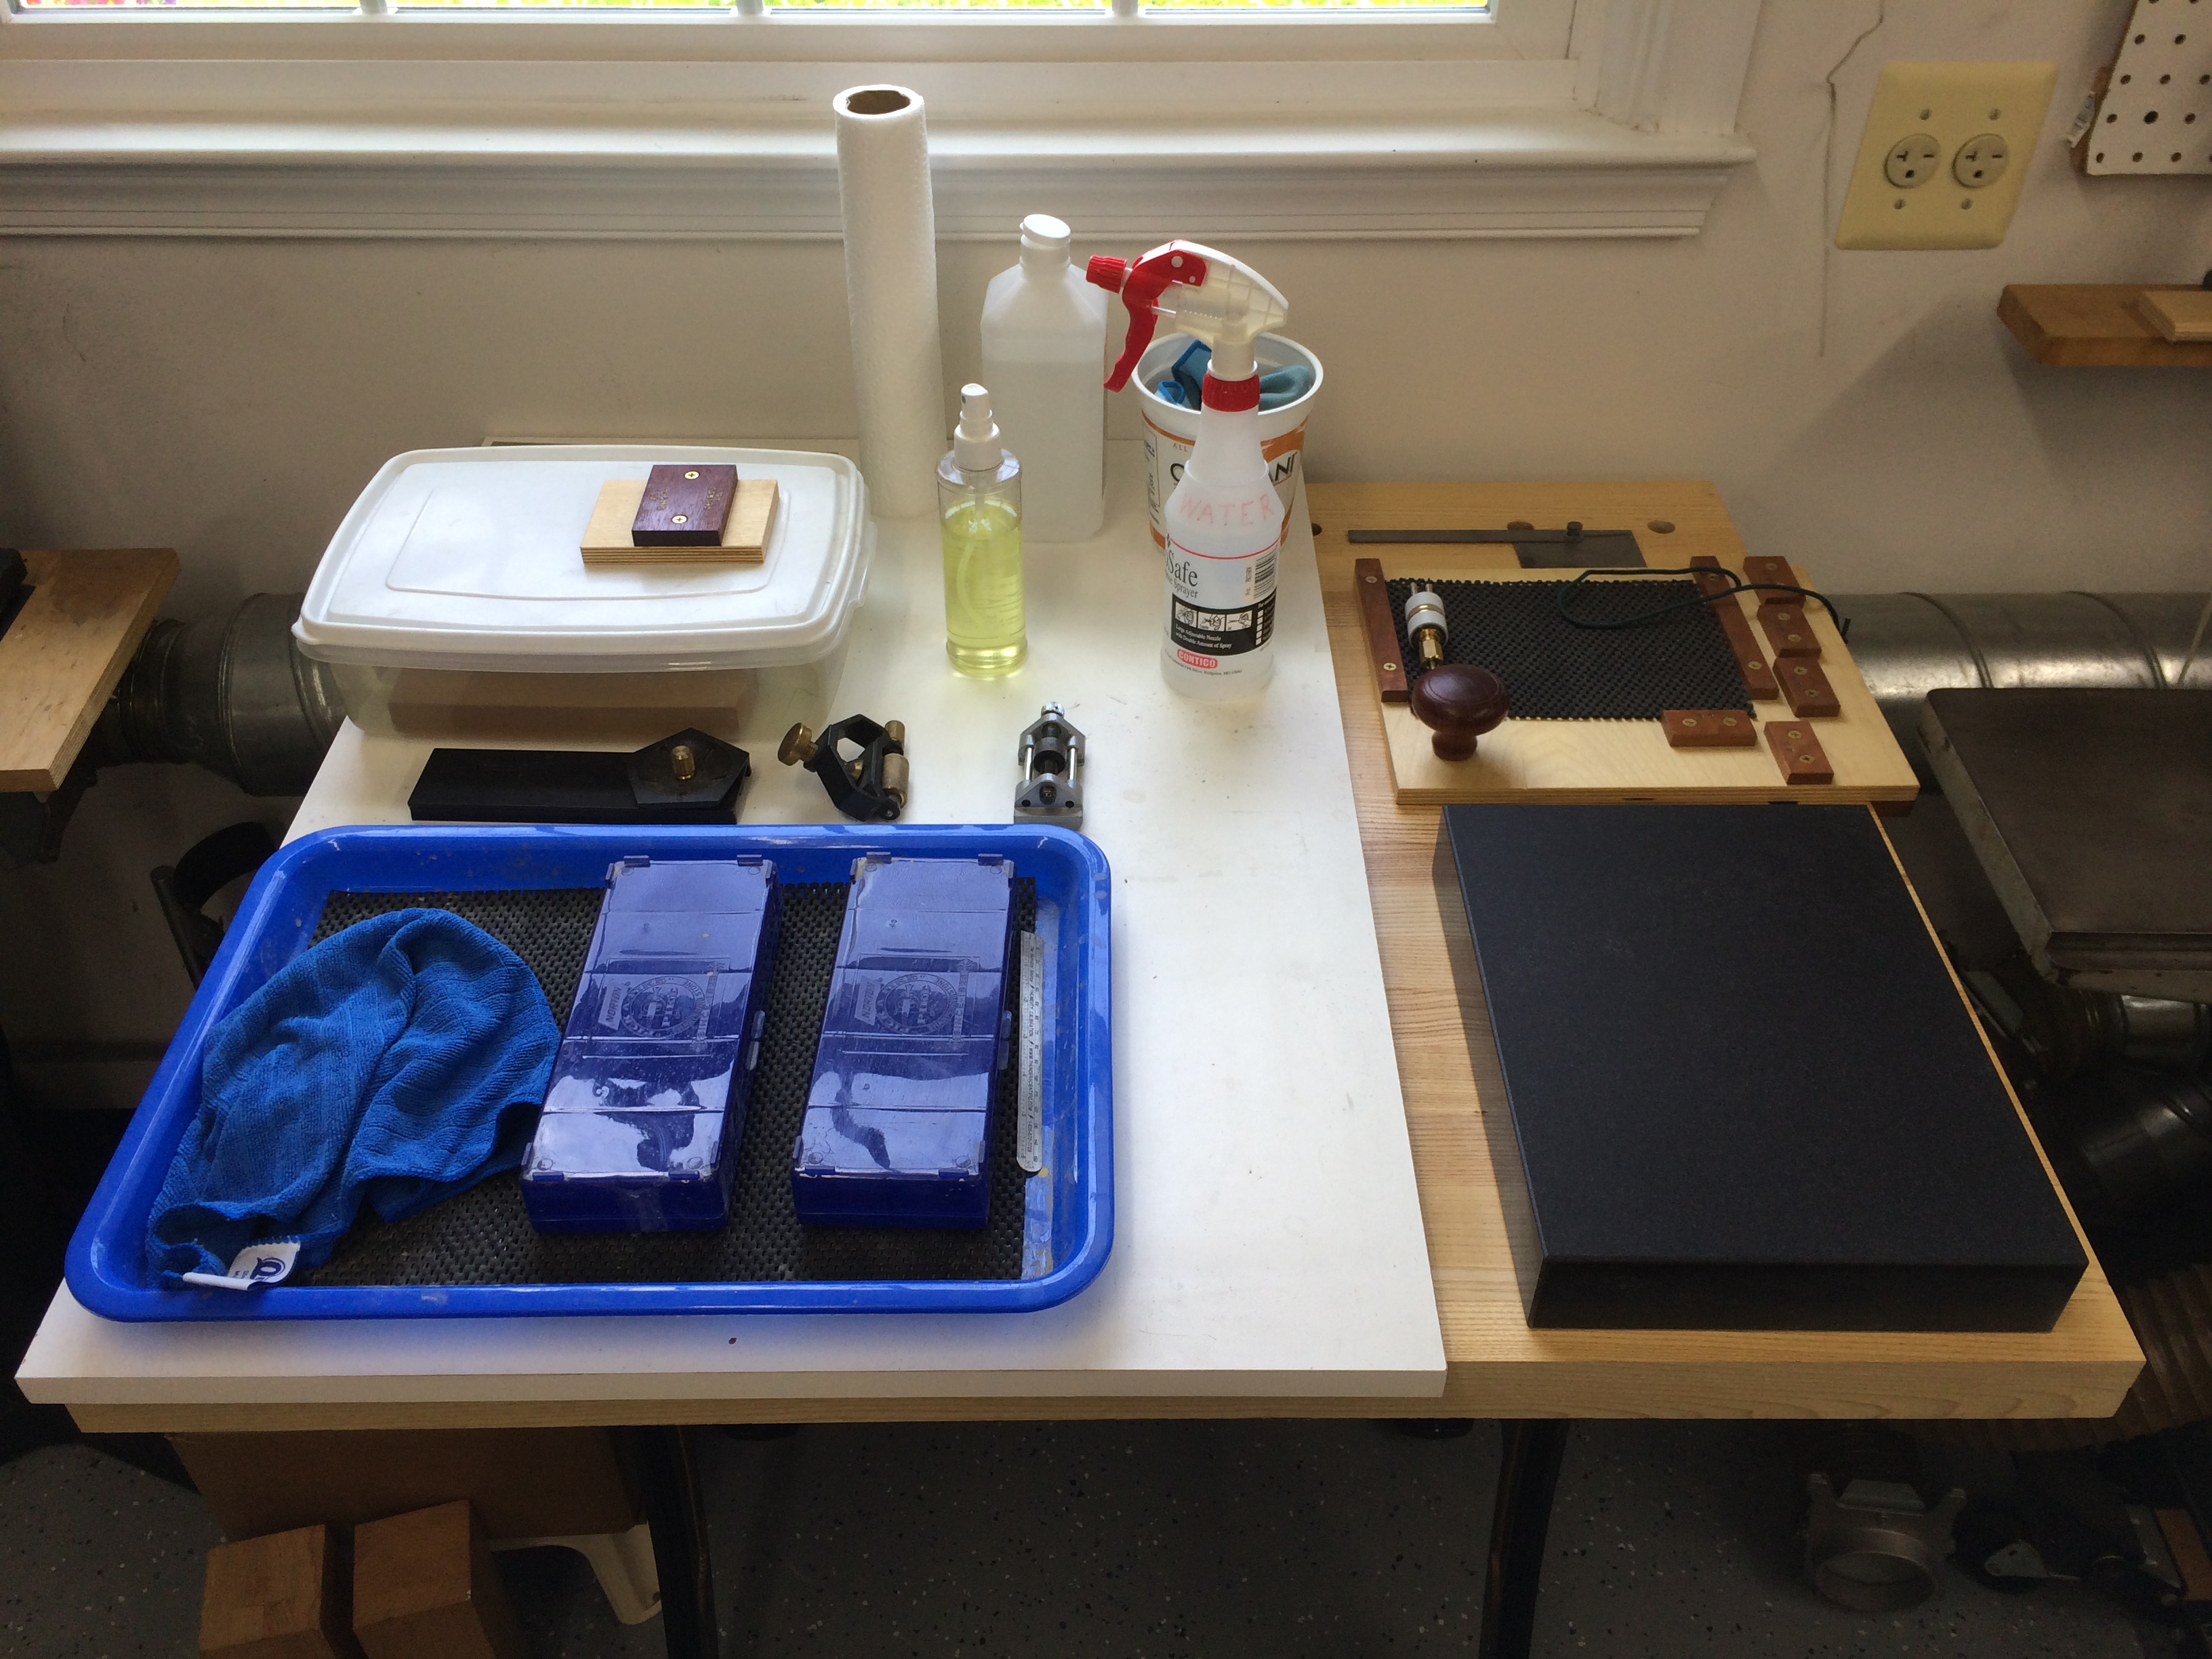
Sharpening Station
When back in my shop, I use the Bench as my sharpening Station since I have two other full size work benches.